


Rainwater Capture
By Josh Reilly
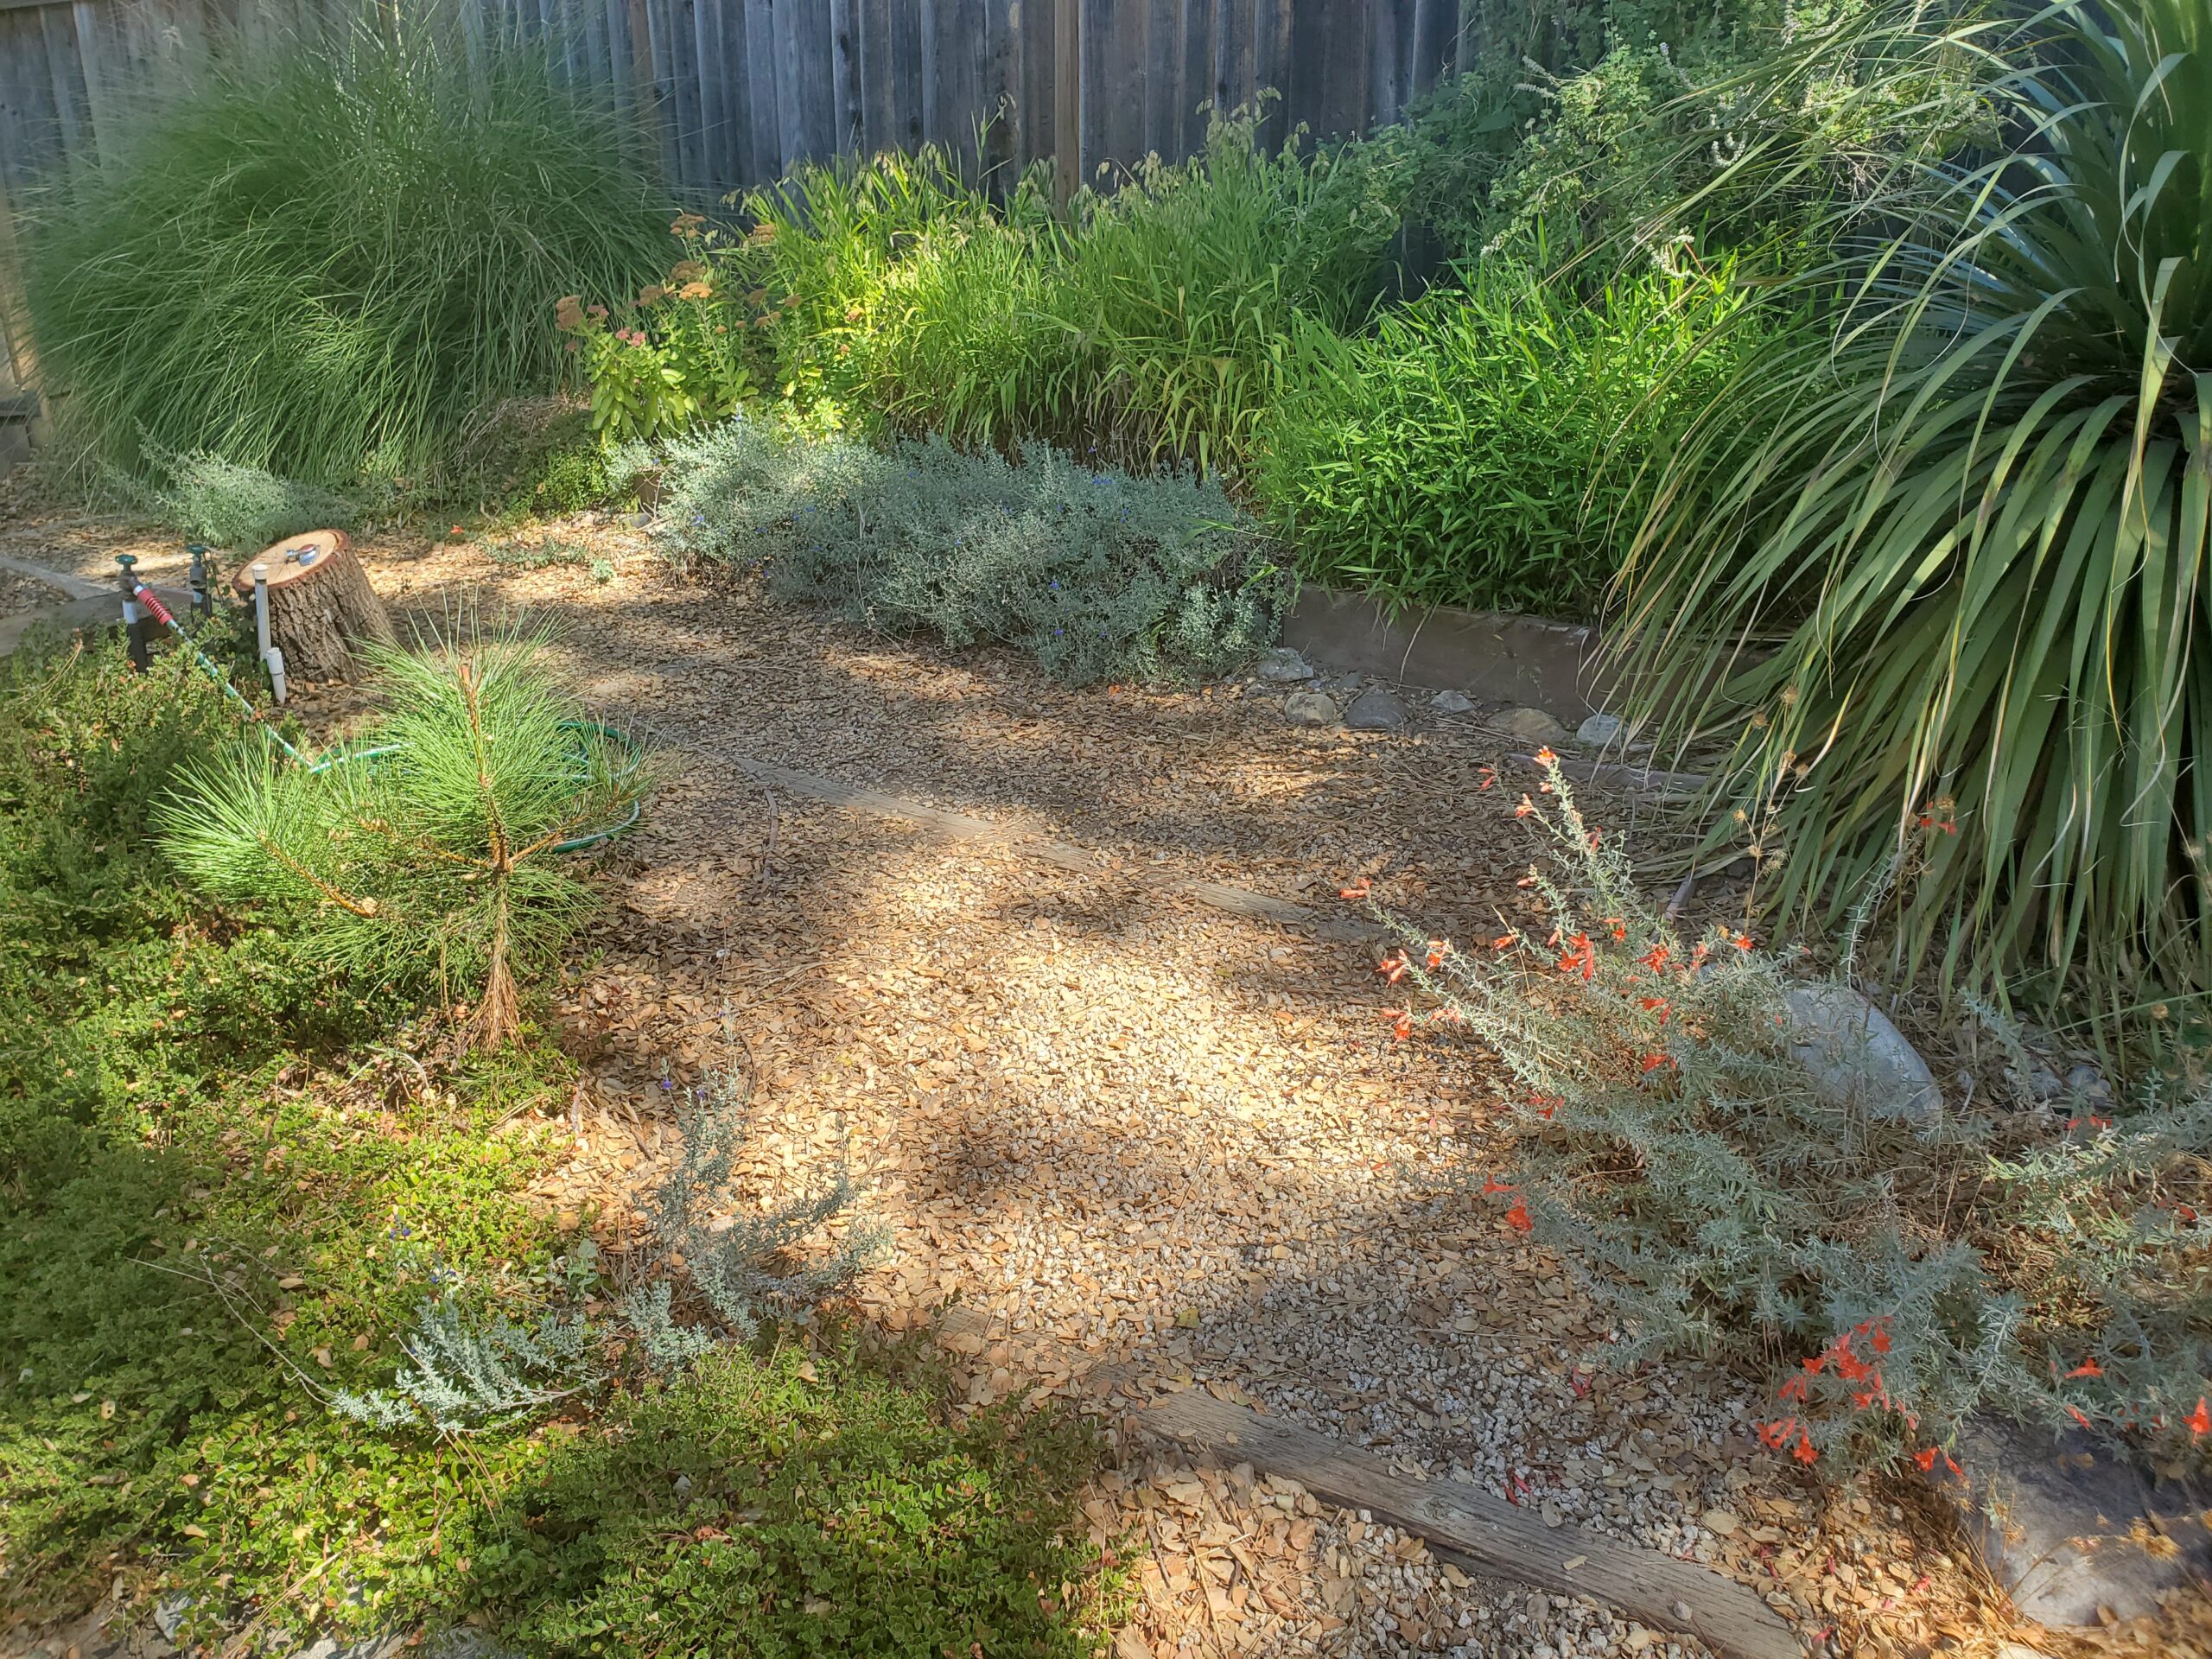
It might be an odd time to talk about rain barrels and rooftop rainwater capture. As of late January, we have already picked up about 40” of rainfall in the SLV. Our gardens and landscapes are now trending towards water-logged, if not flooded altogether. If anything, we’d rather it ran off and roared away down the San Lorenzo. But this won’t last. Soon enough, it’ll be August and we’ll be reeling under our now annual, weeklong, 100+ heat wave. It’s nice not to have to pay premium rates when you most need the water. Of course, by now, many of us are trying dry-tolerant plantings, bioswales, mulching, and other water conservation techniques. We’re developing a tolerance for brown and gray in the Summer, as that is how many drought-tolerant, Summer dormant plants look from about July until the first rains. But even xeriscapes need ample water to establish, which may take several years. You can’t just go cold turkey.
What is to be done? About 15 years ago, I installed a 100-gallon rain barrel under my gutter downspout in the shady NE corner of the property, parts and instructions courtesy of the fine folks at Scotts Valley Sprinkler. Your roof sheds between 30,000 and 45,000 gallons/year, so a 100-gallon barrel fills up within two hours of the first rain of the year. Then last December, I installed a 205-gallon Bushman rain barrel on another downspout, because 100 gallons doesn’t go very far. I use my rain barrel water for potted plants, transplants, and seedlings. Both my barrels have simple spigots, from which I fill 2-liter Haws watering cans. With the cans, I happily traverse my garden, watering and talking to the plants. I try to exhort them to new heights of performance while plying them with water and the occasional haphazard dash of fertilizer or compost. I like watering with a can. While watering, I observe, enjoy, and absorb the landscape. Why bother gardening if you don’t take time for that?

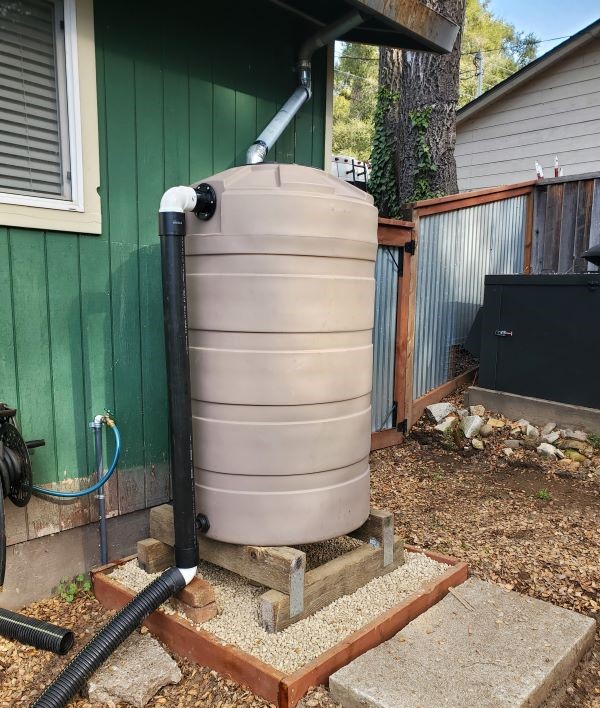
A few notes on rain barrels. Water weighs 8.34 lbs/gallon. Your barrel, when full, is going to be very heavy. You can’t just put it on the ground under the downspout. For my first barrel, I built a 3 ft x 3ft pad with pressure-treated, 2 x 6 boards and poured 2” of concrete into it. I guess I was in a hurry. Bad move. The pad should be at least 4” thick. Within a few years, gophers had undermined the pad and the whole thing began to tilt toward the house! This time, however, I installed a 4 ft x 4 ft pad, lined on the bottom with 1” x ¾” “gopher wire” and filled it with 6“of gravel. Live and learn. On top of these pads, I built stands for the tanks out of used 4” x 6” deck beams tied together with joist hangers. Then I used a circular saw to cut a slight notch in the top surface of the 4 x 6 beams, where the barrel sits. Remember that you have to be able to get your watering can under the spigot, so you’ll need to elevate your barrel. In addition, all this wood and gravel work helps to stabilize and spread the immense weight of the water, which might otherwise cause your barrel to sink, lean, and maybe tip over. Your barrel should have a fine mesh screen to keep dirt, roof tile aggregate, and mosquitoes out of the water. The Bushman barrel has two outflow openings to which you may attach a spigot or pipe or hose to “daisy chain” with additional barrels. Remember to use corrugated drain pipe or other means on the overflow valve to direct the overflow away from the house.
I’ll give a full report next September when the water in the barrel is exhausted.
Josh Reilly, aka Uncle Skip, writes about seasonal gardening from his home in beautiful Ben Lomond, California.
Photos by Josh Reilly
Featured photo at top of page: Rain barrel captures runoff from the roof


I’ve looked at this concept, and at least at SLVWD rates, 100 gal of water costs $1.33. 205 gal would be $2.75. You are also only likely to fill/empty it once or twice per year. Unless every component is free, including labor, you are just never going to pay for the setup from water costs.
Environmentally, pouring concrete for something of little or no value isn’t a good trade-off.
Now, I actually do something similar with an old trash can, but have never been able to avoid mosquitos, so I have to use the water within a month or so. Capture the last rain of the winter, and this works.
Here’s an interesting follow-up: Is rainwater harvesting worth it? Absolutely!
https://www.premiertechaqua.com/en-us/rainwater/rainwater-harvesting-worth-it