The Sweet Taste of Honey Wine
By Greg Roe and Mike De Smidt
There are a number of theories as to how humans first discovered fermented beverages, but one of the leading ones concerns mead, or honey wine. The theory goes something like this. Our hunter-gatherer forebears were out one day, harvested some honey from a tree, placed said honey in a vessel of some sort and went home. This vessel containing the honey had water introduced via weather or some other means and thus created an environment suitable for fermentation. A curious person saw this process underway, thought “meh, why not” and gave it a taste or several. In addition to the flavor, the inebriating qualities were something that these discoverers took a liking to. The process was repeated and refined over the millennia and now we have myriad beverages to enjoy.
Mead, in its basic form, is very simple. Only honey, water, and yeast. That’s it! There are, like other fermented beverages, many different variations and styles available. Some of these include cysers (apple meads), pyments (grape-wine & mead combo), metheglins (mead with spices added), and braggot (mead combined with beer). They range in alcohol from just a few percent alcohol by volume to over 20% ABV, though most are going to be in the typical wine range. The flavor can vary quite a bit as a result of the honey varietal used and other ingredients added. Now that the season is upon us, it is the perfect time to try and make a mead.
It used to be that meads were cumbersome and took a very long time to make. Unlike wort (unfermented beer), the must (unfermented wine) for mead making is virtually devoid of nutrients that the yeast needs to ferment. This is the main hurdle. Over the past couple of decades, there have been major strides in understanding how to make a mead fermentation healthier, resulting in a faster ferment and a better tasting mead. This is accomplished primarily by the addition of specific nutrients at certain intervals as well as injecting oxygen/air into the ferment at the same time, in order to promote yeast growth and health.
Unlike brewing beer, making mead requires very little equipment. Generally, a large stirring spoon, kitchen measuring tools, and a food-grade bucket. A few other items, such as a lees stirrer mountable in an electric drill, can make the process described in the recipe easier and the end product better. The need for stirring and nutrient additions in the first week or so of fermentation is why a food-grade bucket is the preferable fermentation vessel. The following recipe for a simple mead provides the recommended type and amounts of nutrients, the intervals to add them along with oxygen/air, and some ideas for changing things up with ingredient additions. Note that If you use a carboy or narrow-necked container to ferment in, you may have a difficult time properly oxygenating the must.
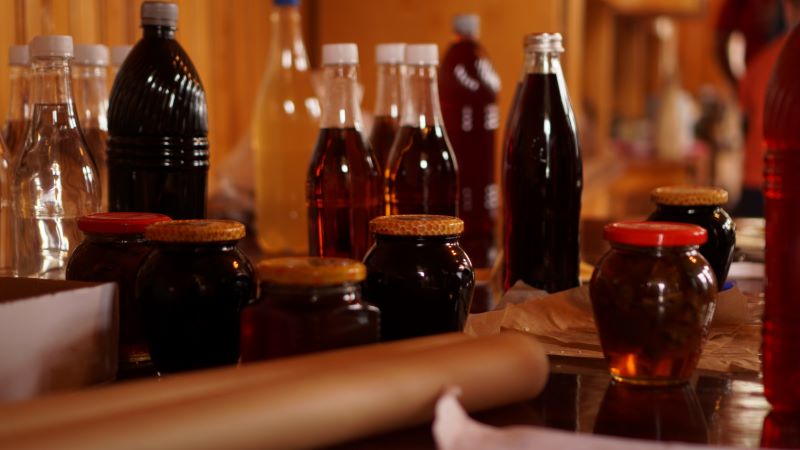
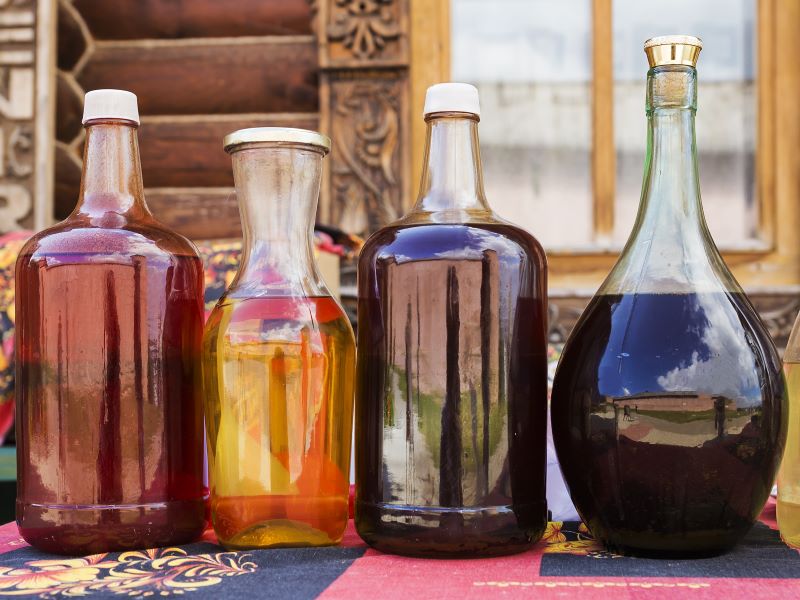
Mountain Honey Mead – Darker color variations occur when fruit, spices, or herbs are added
Mountain Honey Mead
Ingredients for 1 gallon
3 pounds Local Santa Cruz Honey
1 gallon filtered (non-chlorinated) Water
Yeast Nutrient (We recommend Fermaid-K, or another nutrient containing diammonium phosphate (DAP)
Dry Yeast (recommend Lalvin D47 or Lalvin 71B)
Directions
Sanitize everything you will use in the process with a sanitizer like StarSan.
Rehydrate ½ packet of yeast in ¼ cup lukewarm filtered water in a sanitized bowl. For best results, try adding a product like Go-Ferm during rehydration.
Combine honey with filtered water.
Two options:
Combine straight into a sanitized, food grade bucket (or glass jug) and shake vigorously to mix and aerate, or use the lees stirring attachment for your drill (don’t use the drill with glass), until honey is fully mixed with water; or,
Combine water and honey into a sanitized pot and gently heat to 140F and hold for 22 minutes. Heating will blow off some of the honey aromatics (i.e. you’ll lose flavor and aroma), but this will make mixing easier. Once combined, pour must into your sanitized, food grade bucket, or a sanitized 1 gallon glass jar or carboy.
Rehydrate 1 gram of Fermaid-K in distilled water, and pour into must. Stir.
Pour yeast into must.
Close the fermenter and add a compatible airlock.
On days 2, 4, and 6 of fermentation rehydrate another 1 gram of Fermaid-K and slowly add to the fermenting mead. Add oxygen to the must by shaking or stirring vigorously.
Once the mead has cleared a bit and you notice sediment building up on the bottom (3-6 weeks – mead takes patience!), carefully transfer (rack) the mead to a new sanitized container. You can top up with sanitary water if need be.
Once mead has ceased all signs of fermentation, is very clear, and has not increased sediment for 2-4 weeks it is time to bottle. If you followed option 3a and did not heat the must add a Campden tablet to the mead, straight into the fermenter, and wait one day before bottling.
Bottle your mead into your preferred vessels. Sanitized 12 or 22 oz beer bottles work well with a bottling wand and capper. But you can get more elaborate and put it in corked wine bottles.
Age mead for 6 to 9 months before drinking.
Fruit/flavor additions:
Add three pounds (for 1 gallon of mead; may need a larger fermentor) of locally harvested elderberries (usually ripe for harvesting July through September) into the secondary fermenter (after transferring/racking the mead the first time) and make an elderberry melomel. Some also add the fruit straight into the primary fermenter. Experiment!
Ben Lomond local, Mike De Smidt has been home brewing for 12 years and is a BJCP Certified Beer Judge. Greg Roe is a Felton local who has been a home brewer for 20 years and is a self-proclaimed Fermentation Geek. This delightful article has been updated from the original published in the November 2021 print edition of the San Lorenzo Valley Post.
Photos: depositphotos.com
Have a news item to contribute? The San Lorenzo Valley Post welcomes your Santa Cruz Mountains news, story ideas, photos, and letters. Send us an email.
Sign up for our newsletter to stay connected to news and events in the Santa Cruz Mountains.
The San Lorenzo Valley Post is your essential guide to life in the Santa Cruz Mountains. We're dedicated to delivering the latest news, events, and stories that matter to our community. From local government to schools, from environmental issues to the arts, we're committed to providing comprehensive and unbiased coverage. We believe in the power of community journalism and strive to be a platform for diverse voices.